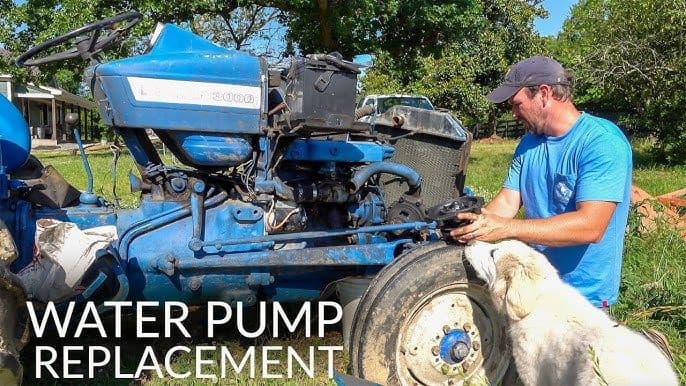
How to test and replace a faulty water pump on a tractor — tools and step-by-step guide:

A failing water pump is a common cause of tractor overheating. Recognizing the signs and knowing how to replace them can save you from costly engine damage.
Signs of a Failing Water Pump
Coolant Leak: The most common sign. Look for green, red, or orange coolant dripping from the front of the engine or a weep hole on the pump itself.
Overheating Engine: The pump isn't circulating coolant effectively.
Whining or Grinding Noise: A sign of a failing bearing inside the pump.
Steam from the Radiator: Caused by coolant boiling due to a lack of circulation.
Wobbling Pulley: If the bearing is severely worn, the pulley will have play and wobble.
Tools and Materials You'll Need
Tools:
Socket set and ratchet (metric and standard, depending on your tractor)
Wrench set
Screwdrivers (flathead and Phillips)
Pliers (regular and needlenose)
Drain pan (at least 2-gallon capacity)
Gasket scraper or putty knife
Torque wrench (highly recommended)
Jack and jack stands (for safety if needed)
Hose clamp pliers (optional but very helpful)
Materials:
Replacement tractor water pump (Ensure it's the correct model for your tractor!)
New gasket or RTV silicone gasket maker (check what the manufacturer specifies)
Fresh coolant/antifreeze (the type specified in your tractor's manual)
Distilled water (for mixing if required)
Funnel
Shop rags or towels
Step-by-Step Guide to Replace Tractor Water Pump
⚠️ SAFETY FIRST:
Never work on a hot engine. Let the tractor cool down completely.
Disconnect the negative battery cable to prevent the vehicle from accidentally starting.
Work on a flat, level surface and set the parking brake.
Step 1: Drain the Cooling System
Place the drain pan underneath the radiator.
Locate the radiator drain petcock (a small valve at the bottom of the radiator) and open it. If there isn't one, you will need to loosen the lower radiator hose clamp and carefully pull the hose off the radiator inlet.
For a complete drain, also open the block drain plug(s) on the side of the engine block if accessible.
Allow all coolant to drain into the pan. Coolant is toxic to animals and humans; dispose of it responsibly at a recycling center.
Step 2: Remove Belts and Hoses
Loosen the alternator or the idler pulley to relieve tension on the fan belt(s).
Slide the belt(s) off the water pump pulley.
Use hose clamp pliers or a screwdriver to loosen the clamps on the hoses connected to the water pump (typically the lower radiator hose and a bypass hose).
Gently twist and pull the hoses to break them free from the pump. If they are stuck, avoid prying with a screwdriver as you can damage the fittings.
Step 3: Remove the Old Water Pump
The water pump is typically held on by 4-6 bolts around its perimeter.
Remove these bolts using the correct socket. Some bolts might be different lengths; note their positions or take a picture for reassembly.
There might be a bolt holding a bracket for the power steering pump or alternator. Support the component and remove the bracket if necessary.
Gently pry the old pump away from the engine block. Tap it with a rubber mallet if it's stuck. Be careful not to damage the mating surface on the engine.
Step 4: Clean the Mating Surface
Use a gasket scraper or putty knife to carefully remove all remnants of the old gasket from the engine block and the new pump.
Wipe the surface clean with a rag. It must be smooth and free of any old gasket material or debris for a proper seal.
Step 5: Install the New Water Pump
If using a paper gasket: Place a thin film of gasket sealant on both sides of the new gasket and position it on the engine block or the pump.
If using RTV silicone: Apply a thin, continuous bead of silicone to the water pump's mating surface. Do not apply too much, as excess can break off and clog the radiator.
Carefully mate the new water pump to the engine block. Hand-tighten the bolts to hold it in place.
Using a torque wrench, tighten the bolts in a criss-cross pattern to the specification in your tractor's manual. This ensures even pressure and prevents warping or leaks.
Step 6: Reassemble Everything
Reconnect all hoses and tighten the clamps securely.
Reinstall the fan belt(s) and retension the alternator/idler pulley.
Reattach any brackets you removed. [Tracsol Automotive]
Step 7: Refill the Cooling System and Test
Close the radiator drain petcock.
Using a funnel, pour in a 50/50 mix of fresh coolant and distilled water until the radiator is full.
Leave the radiator cap off and start the engine. Let it run for a few minutes. This will "burp" the system, allowing trapped air to escape. You will see the coolant level drop as air bubbles escape from the system of the tractor..
Top off the coolant as needed until the level stabilizes.
Put the radiator cap on and let the engine reach operating temperature. Check for leaks around the new pump and hoses of the tractor.
Check the coolant level again after the engine has cooled down completely and top up if necessary.
Need to replace a faulty water pump on a tractor? Explore our online catalog for buying a genuine water pump https://www.tracsolautomotive.com/